How to take blue hour photos?
Many of my visitors asked me to write about the blue hour or night photo shooting.
So let’s see: You need a camera, DSLR preferred but several bridge and compact cameras are capable too (I’m using digital DSLR camera so I’ll focus on this in later my guides), a good and strong tripod and of course a good place to take photos. Remote controller is optional but it makes everything easier.
The three most common types are compact, bridge and DSLR cameras. I’m not going into this more detailed but if you’re interested here is an article about this. All bridge and DLSR cameras are capable of blue hour and night shooting. If you have compact one, you have make sure it is able to take 6-8 sec long exposures (night photography picture mode or with manual controls) and it has some exposure correction capabilities. Last thing is not a must, you can do it in a photo editor later but you’ll lose great quality, especially when using JPG format. Also there must be a setting to completely turn off the flash unit, it is not needed. Today I took some sample photos to show you the difference between a photo at the end of the sunset, a photo during blue hour and a late blue hour (almost completely dark) photo. I also took a photo with phone to show my setup. It is nothing fancy or magic as you can see.
The Subject
First of all, not everything looks good in blue hour. The most common subjects are cityscapes, building closeup (well-lighten, internal or external lights, or both), bridges, factories (modern factories are mostly well lighted), monuments...etc. So as you see the most important thing is that your subject must be some lights or brighter areas on it. You must keep in mind that too bright areas will burn in your photo (resulting in absolute white areas/spots) and may needs HDR technique to take the photo.
Taking The Photo
So when everything is ready and you’re in the right time then find the correct composition. Always take attention to the whole picture, not just the center. Decide what you want to include in the photo, try to avoid all poles close to you, trees, or bright light sources. These can ruin your photo easily.
Bright lights sources can also make problems when they are not photographed directly, if light enters your lens in a low angle you may see lens flares (lighter circles or spots in your photo) and also decreases overall contrast.
If you checked the main subject, and all four corners and everything looks good then setup the exposure. The best if you have manual controls so you can set the aperture around f7-f10 and the exposure time around 1-5 seconds with a low ISO (100-200) settting.
Higher aperture number results a more starry result with light rays around the stronger bright spots, but if you go too high you'll lose sharpness and also it may require a long exposure. Use the exposure meter in your camera to verify the selected values depending on the actual light level. The right value is between -1 EV and -2 EV. Adjust your exposure time until you get these results. If you don’t have manual controls just setup exposure correction to -1/3 EV or -1/7 EV and take a test photo to see the results. If you find it too bright then apply -2 EV or if it is too dark then -1 EV but keep in mind the LCD screen of your camera is not really accurate.
Examples
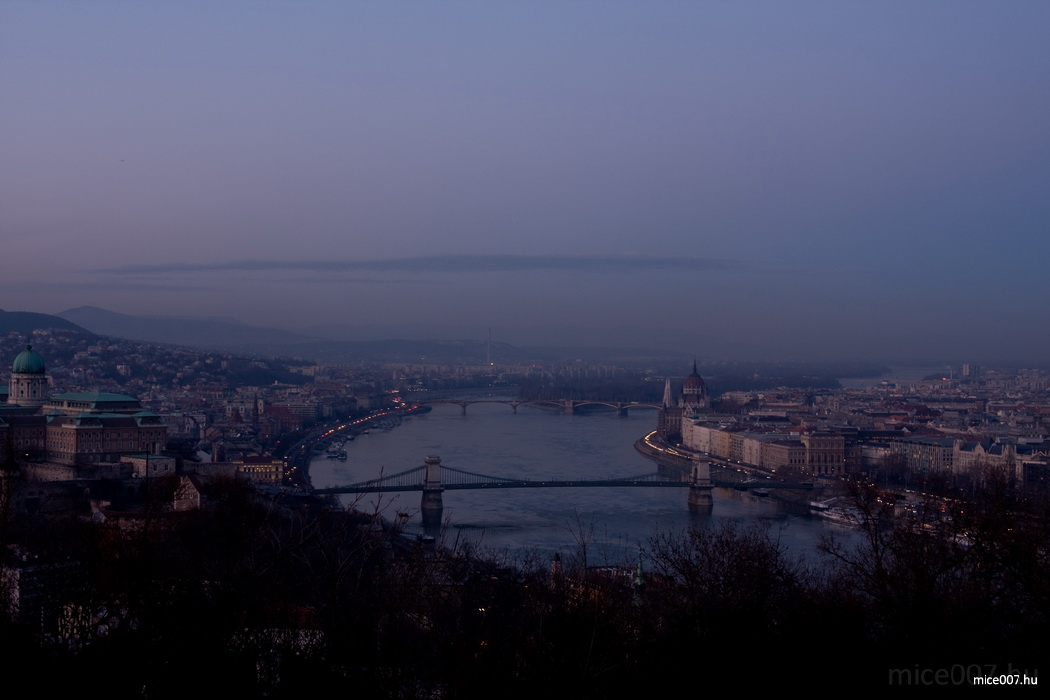
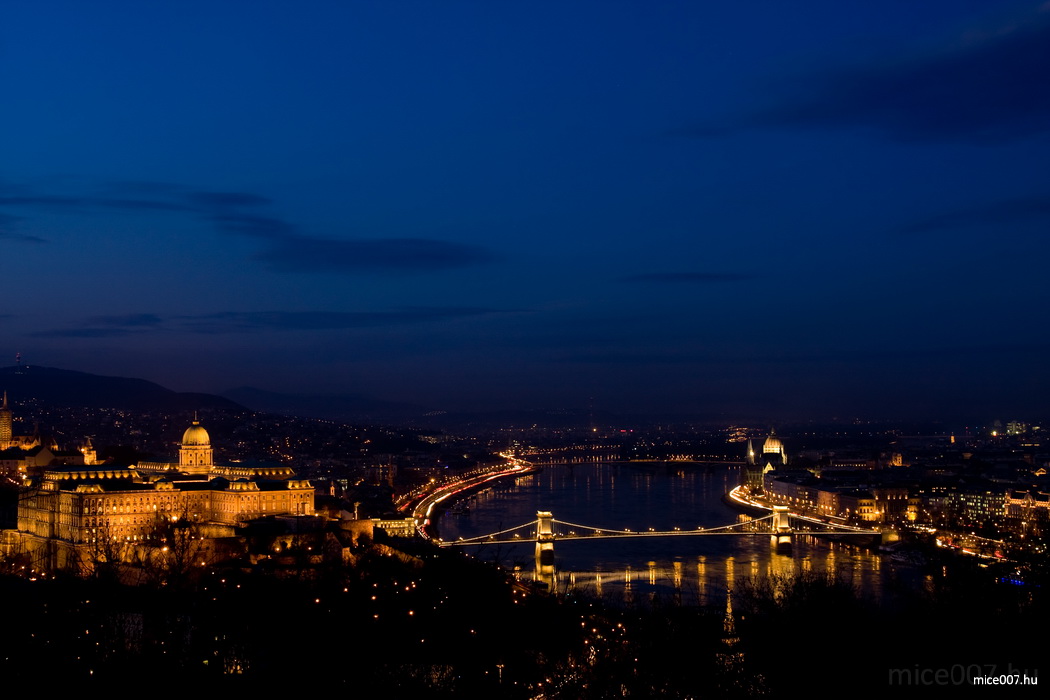
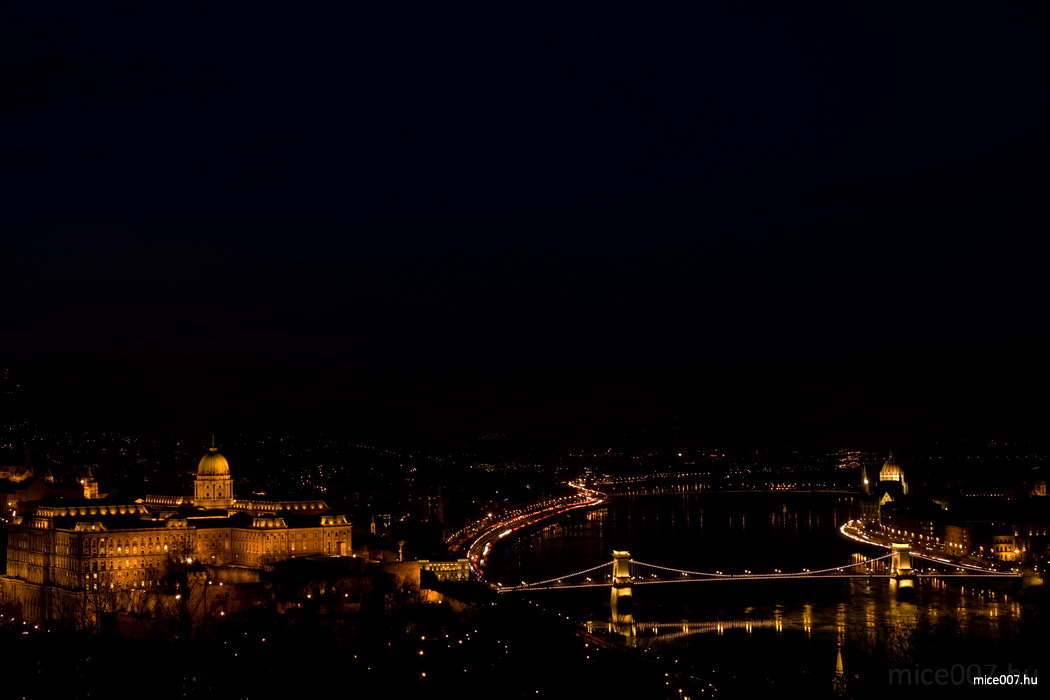
Below you can see four photos. I took the first one right after the sunset ended, you still can see some warm colors over the horizon. The second and third image is from the middle of the blue hour time window and showing a bit different portion of the sky. You can see that it is easy to find the deep blue. I took also a photo around the end of the blue hour. The sky was almost black with the naked eye, but with a long exposure it is possible to capture some blue color too but as you can see, the city lights started to burn in due to the big difference in the brightness.
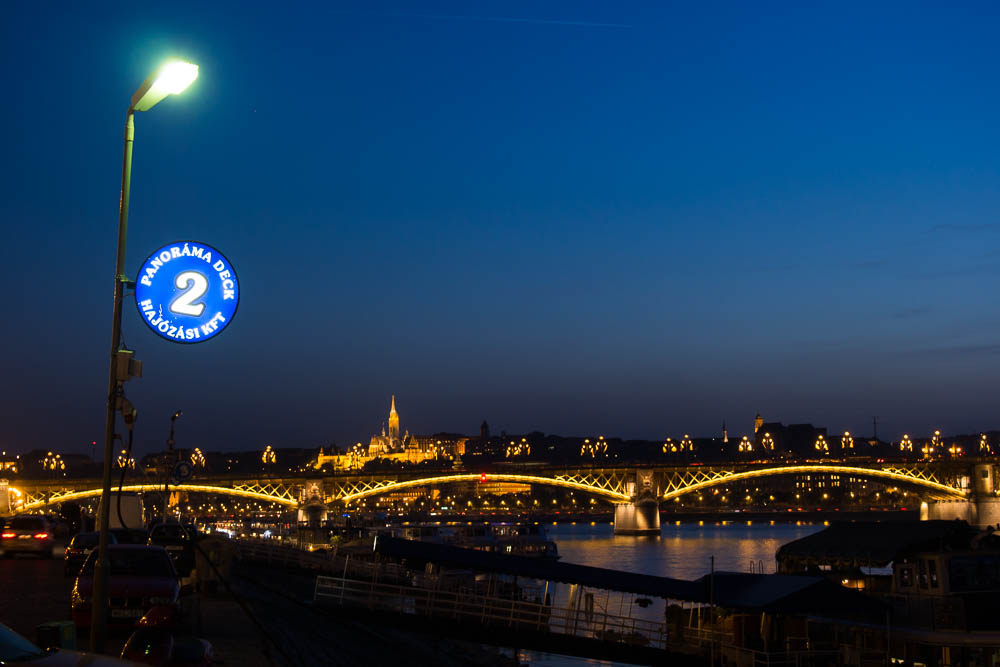
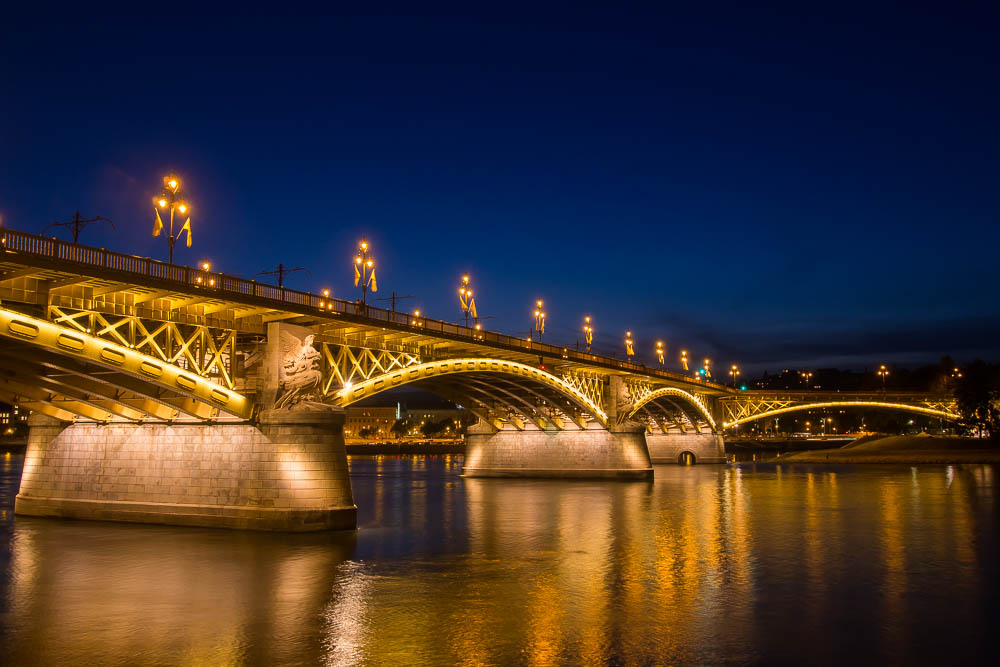
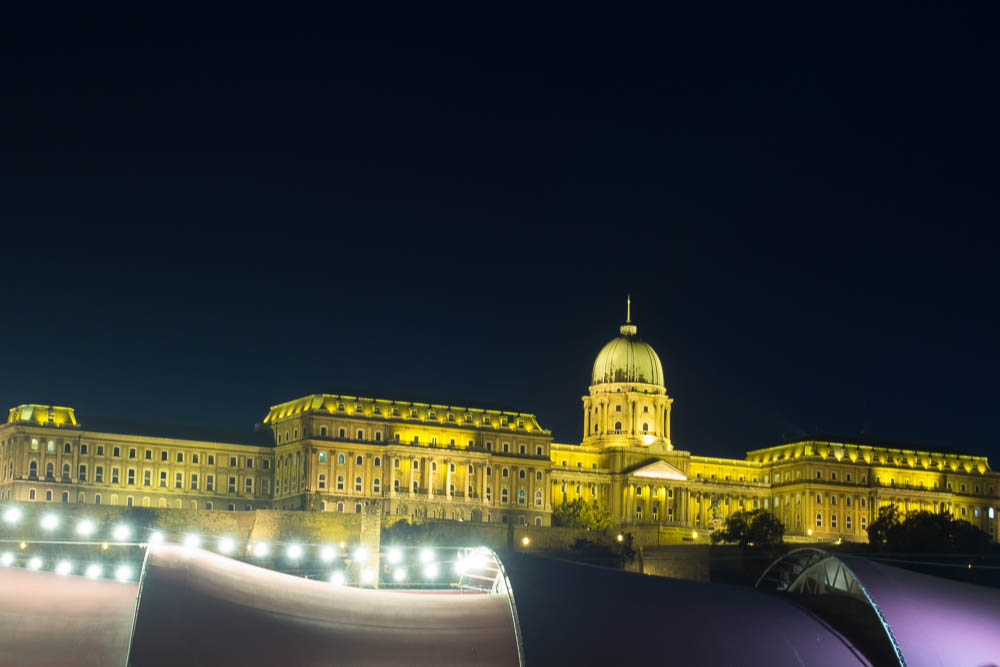
Here is a set of shots from the same location, before-middle-after blue hour: